|
Legal Notice
No material from Modeler Site any Web site owned, operated, licensed, or controlled by Mario Covalski & Associated may be copied, reproduced, republished, uploaded, posted, transmitted, or distributed in any way, except that you may download one copy of the materials on any single computer for your personal, non-commercial home use only, provided you keep intact all copyright and other proprietary notices. Modification of the materials or use of the materials for any other purpose is a violation of Mario Covalski & Associated's copyright and other proprietary rights.
Read More here > Legal notice
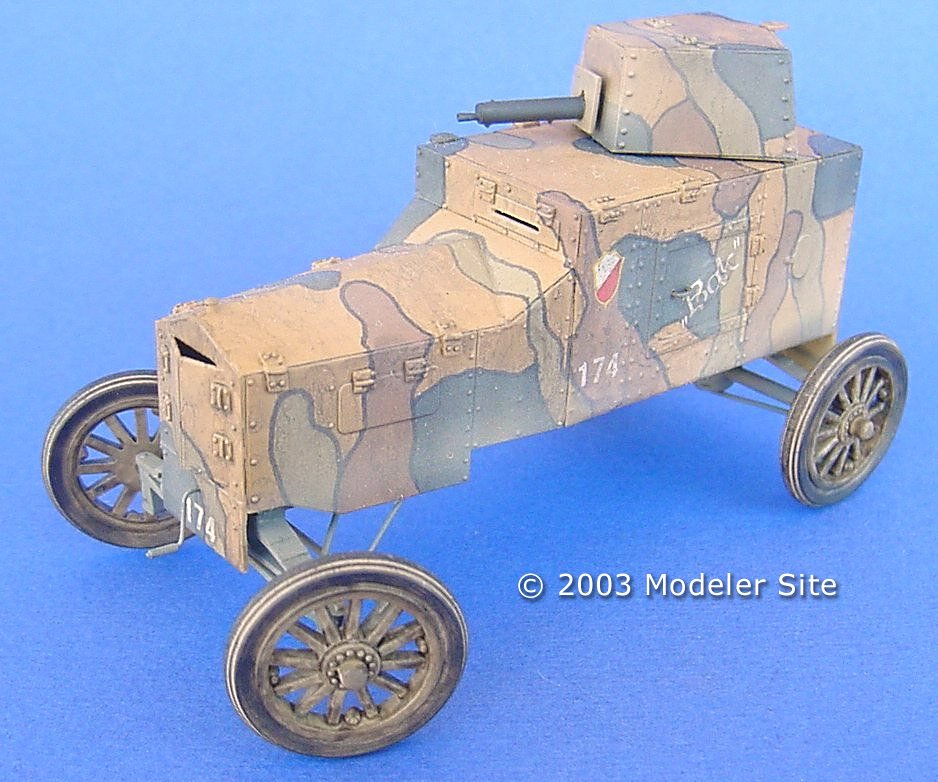
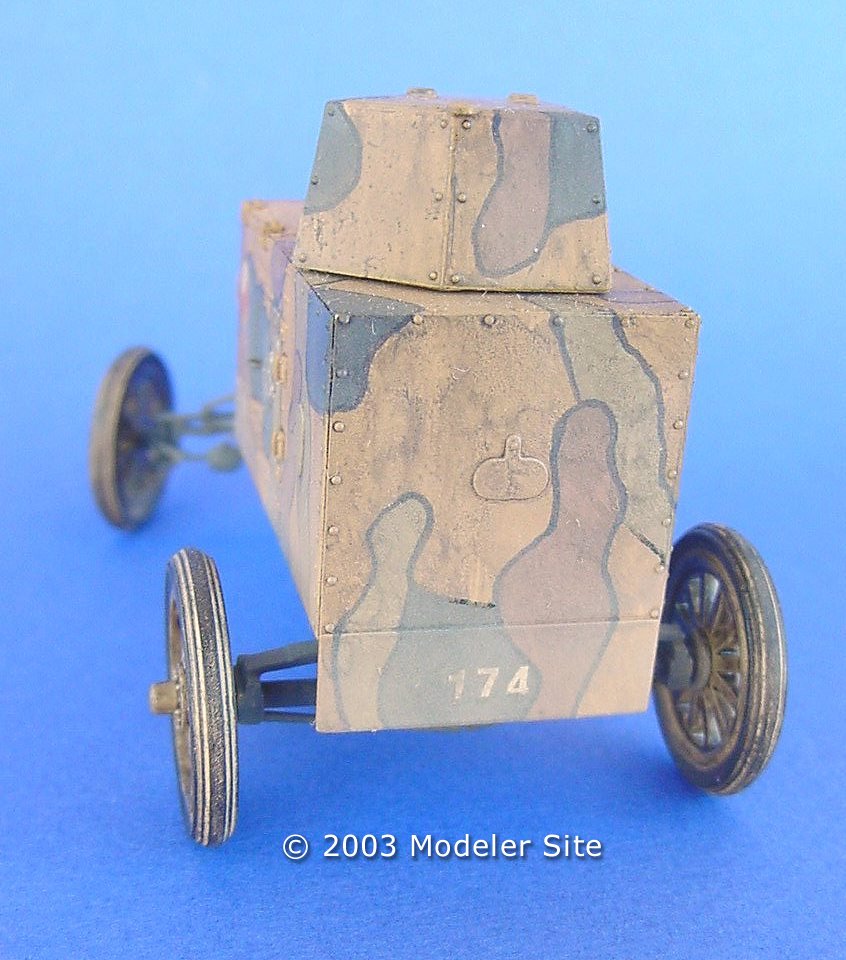
Hey, webmaster! Something's wrong with the scale! This model should be a 1/72... Is it possible for a 1/35 armored vehicle to measure only 9 cm. long? Well… yes!
And in the case of this model it must be added that the space is very well distributed. The model is simple and with minimum efforts and a tidy painting we can add an attractive and rare piece.
After seeing many Panzers and Shermans, visitors will surely be attracted to this small armored vehicle that looks closer to a bug than a military vehicle.
"What is this?" they will ask. And here is the answer.
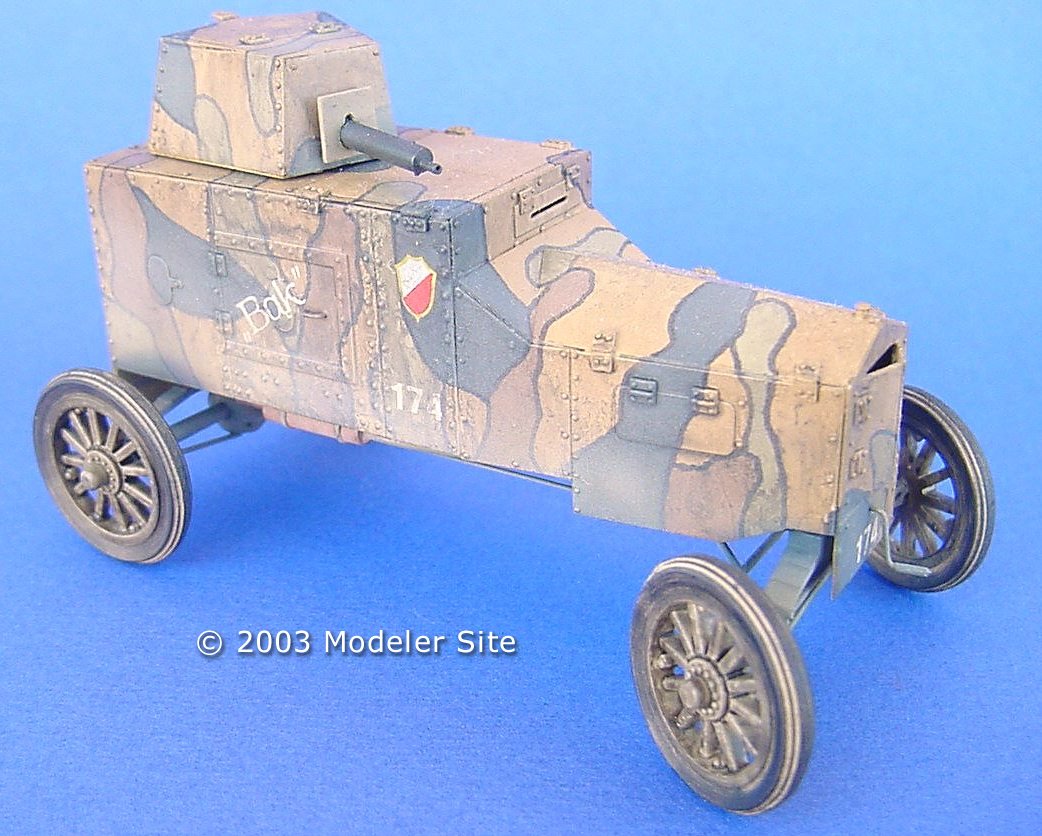
Though RPM presents it as Ford Tc, the correct name is Ford Tfc or Ford FT-B.
This vehicle was intended to satisfy the need Poland had of providing its army with the largest possible amount of armored vehicles as a matter of urgency.
In 1920 Poland was at war with Russia and although it was the fourth force in the world in terms of armored vehicles already, increasing its strength in this respect was a highly strategic achievement
The Ford Tfc prototype was completed in June 1920 and 16/17 units were built. The well-known Ford T chassis was used and armored with a structure to mount the turret and lodge two crew members. The modifications included reinforcing the suspension to carry the armor's additional 600 kg. Just as many other machine-gun cars in those days, the Ford Tfc's all-terrain capacity was limited by its 4x2 traction and its narrow tyres. However, its low weight (1350kg) and solid mechanical system contributed to a good service. They were used for the reconnaissance purposes they had been designed for. They proved to have an extremely good mobility which was difficult to match by other heavier vehicles that turned out to be obviously slower. Out of the units manufactured for this purpose, 12 outlived the conflict and were put out of service in 1931. More information on the Ford
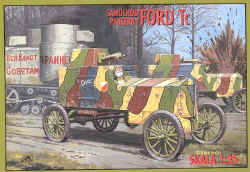
The kit
|
This is a kit typically produced in Eastern Europe.
The pins are too thick and the small parts, almost useless. However, the main parts' detailing is very good, with the rivets looking well. If we mount it with some care, the vehicle's structure will look perfectly well. The building offers no difficulty beyond taking care of aligning the parts properly (to 90 degrees).
|
|
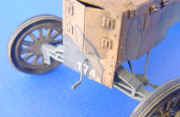
The essential improvements have to be done on the chassis and the machine gun.
|
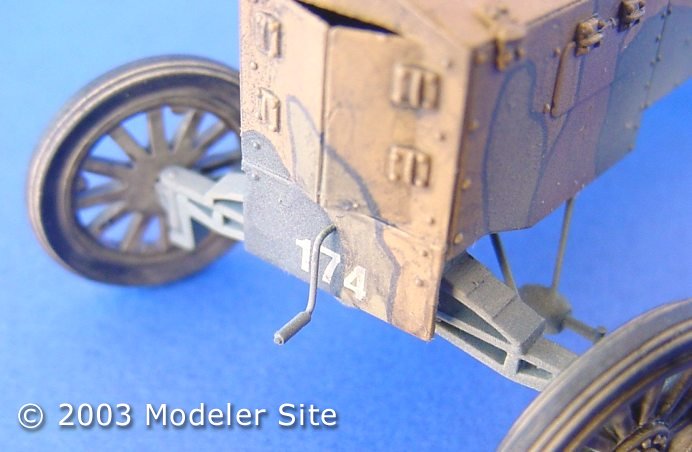
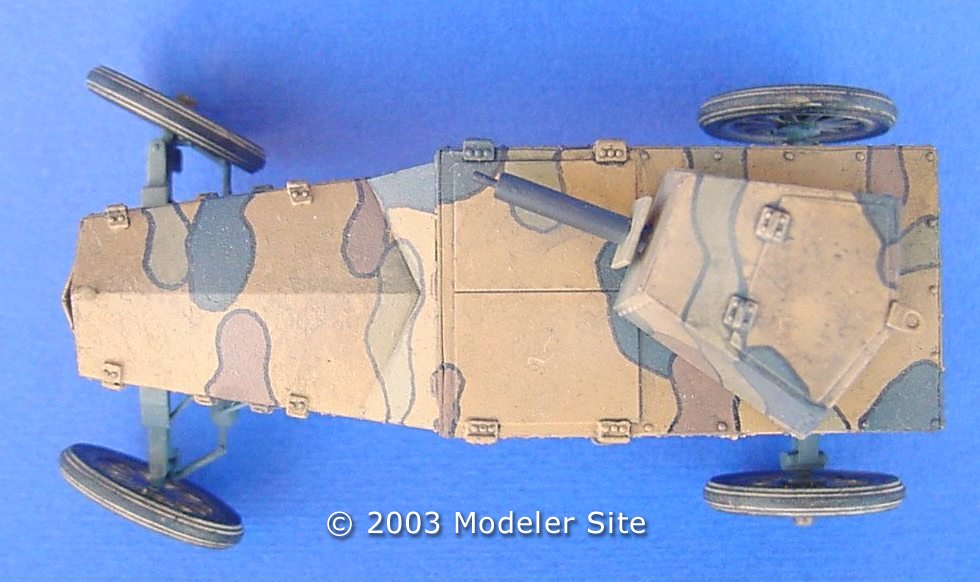
For the chassis I used old instructions of a regular Fort T that allowed me to detail the front wheels steering system. The kit does not allow any positioning so, to leave them turned to the right, I had to shorten some parts and lengthen others. First, it is necessary to glue the wheels' axle in the desired position and we build up the remaining steering bars in this position.
|
|
The rest of the improvements introduced to the chassis were the following: substitution of the thickest parts for thinner rods and reconstructing the exhausts for plastic rods and wire.
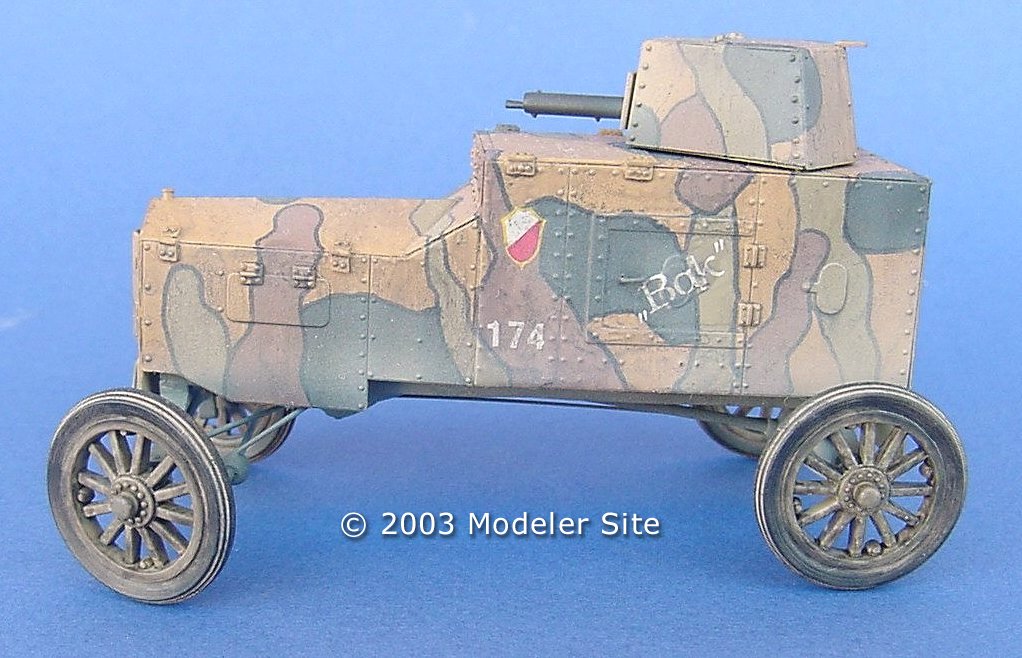
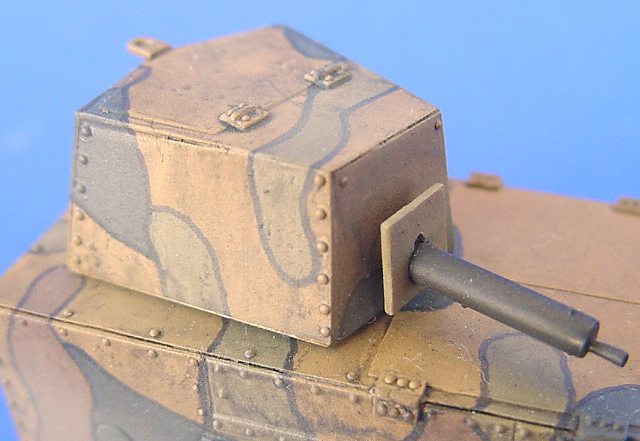
The machine gun HAS TO BE substituted!
|
The one provided with the kit looks more like the Flak 88mm, for its size. Since it carried a water-cooled machine gun, it is easy to reproduce with plastic tube and some detailing with small pieces of plastic rod inserted and cut almost at surface level, including the upper sight and the water deposit lower caps. In a few hours, an adequate quality piece may be obtained.
|

|
I did not glue the body to the chassis so as make the painting easier. I did no glue the wheel to the starter's the front stick. In my model I did not include the headlight since the reference I have shows the vehicle without it.
Painting
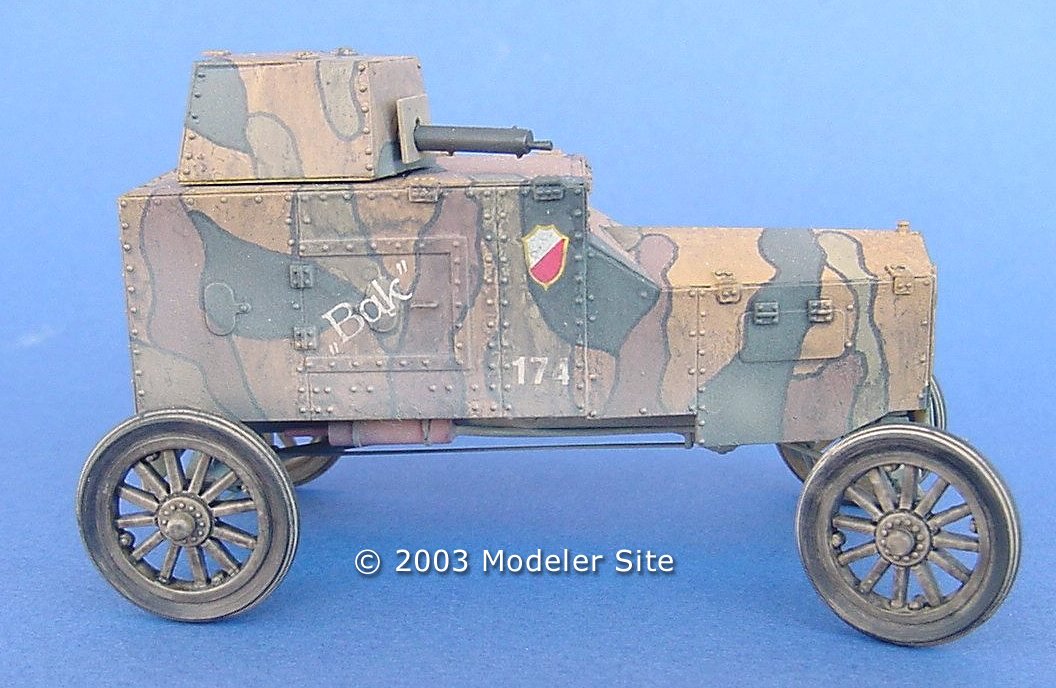
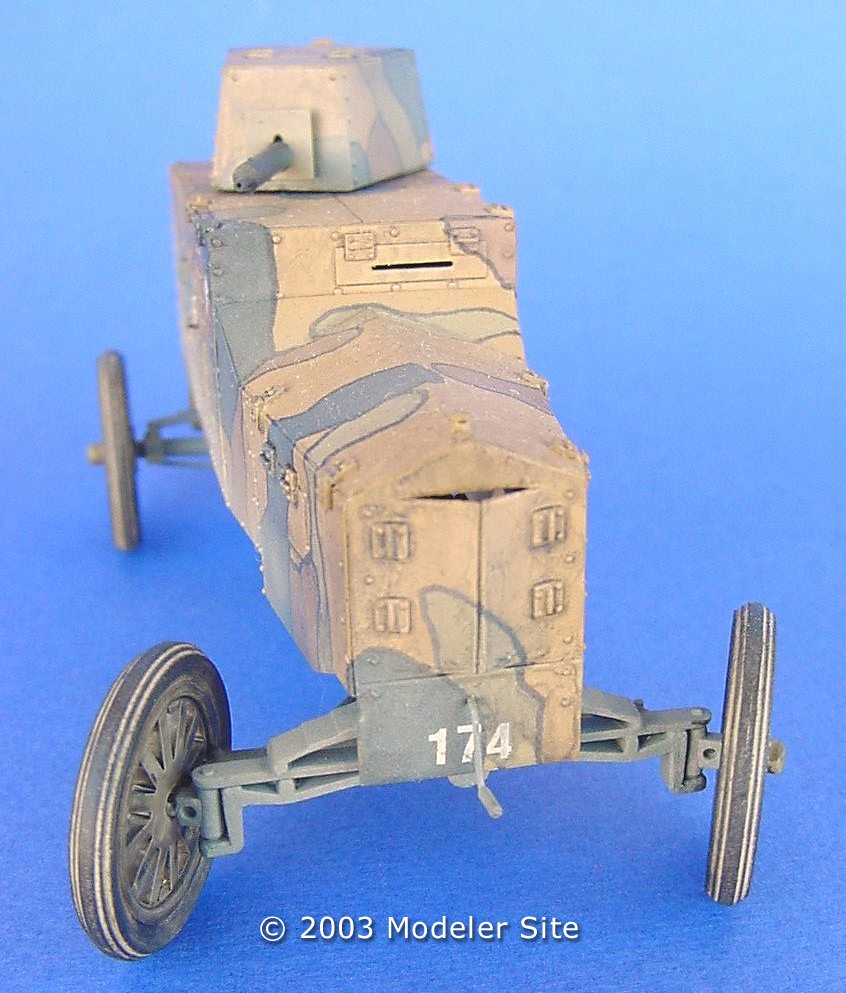
This is the point where the model starts to arouse visual interest. Out of the two possible schemes, the fanciest for me was the post-war four colour classic. Painting it with green could be a fast though much less glamorous option.
Just as all pre-WWII vehicles, there are no exact colour tables. Any tone of the basic colours will do. I am sorry if any "specialist" may feel touched about this…
I started by painting the whole vehicle in very pale green. Then, I masked the pertinent parts with paper tape and applied a layer of sand. When I took the mask off, almost the whole vehicle was sand with just some drops of pale green which was exactly what I wanted. Over this scheme, I applied other masks to obtain brown and dark grey drops in to consecutive sessions. It is better to use pale colours since the weathering will later darken the model considerably.
It is important to let the paint dry between colours since we run the risk of peeling off the previous layer when applying the several masks.
I used quite thick enamel to prevent it from flowing under the tape and sprayed the paint thicker than usual. If too much thinner is used, it may attack the glue on the tape, loosen it and allow paint to drip underneath. It is better to take off the mask fifteen minutes after the paint is applied.
After all the colours were applied and dry, I lined each area with a very thin black marker. The thinners in the ink may loosen it, so it is better to pass it slowly once.
I applied a clear coating to protect the paint and allow the decals to stick without any undesirable reflections.
Weathering
At this stage we have a brand new vehicle with decals on and no dirt. But cannot remain this way! To simulate the untidy finishing required for this kind of vehicle, I applied a very light filter and some powdering.
For the filter I used earth oil diluted with white spirit to stain the body so as to have some parts darker than others. But the roads where the Ford circulated were not paved so, the final look should be dusty. The best trick for this is to spray a couple of layers of Tamiya Buff, mixed with very pale grey the first time and white the second one.
In other words, any mixture of very light brown with more than 50% white will be all right to give it a dusty finishing. These mixtures should be very diluted so that almost no trace of paint is left; however, they should be more intense in the lower part of the chassis and body while the upper parts and roof should not be touched at all.
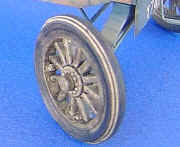
Wheels
|
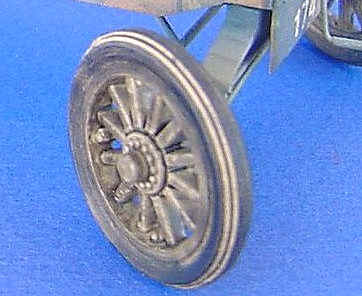
I painted the wheels with pale green and gave them some weathering as I had done with the rest of the vehicle. Finally, I hand painted the tyres with very light beige (once again, Tamiya Buff) applied with a thin rounded tip brush. I applied a layer of smoke black chalk pastel over the most exposed parts to simulate the accumulation of dirt on the tyre treads.
|
|
Conclusion
Who would have said that such a small vehicle could take so much time! It was a great effort to reproduce the colour scheme - I guess that my next 20 models will be olive green only. Anyway, it was worth it! And as I thought, it calls the attention among so many "serious and important" armored vehicles. Nobody is indifferent at this small Ford!
Big size photos are only available in our PDF format.
Support us ordering our notes in PDF > Here
|