|
|
|||||||||||||||||||||||||||||||||||||||
|
Airplanes |
|
||||||||||||||||||||||||||||||||||||||
|
Sukhoi SU 27KNavy "Flanker" 1/72 scale |
|||||||||||||||||||||||||||||||||||||||
|
by Fabian Vera |
|
||||||||||||||||||||||||||||||||||||||
|
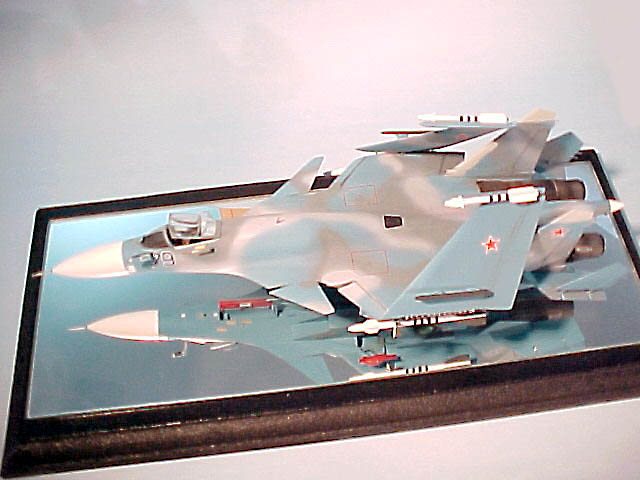
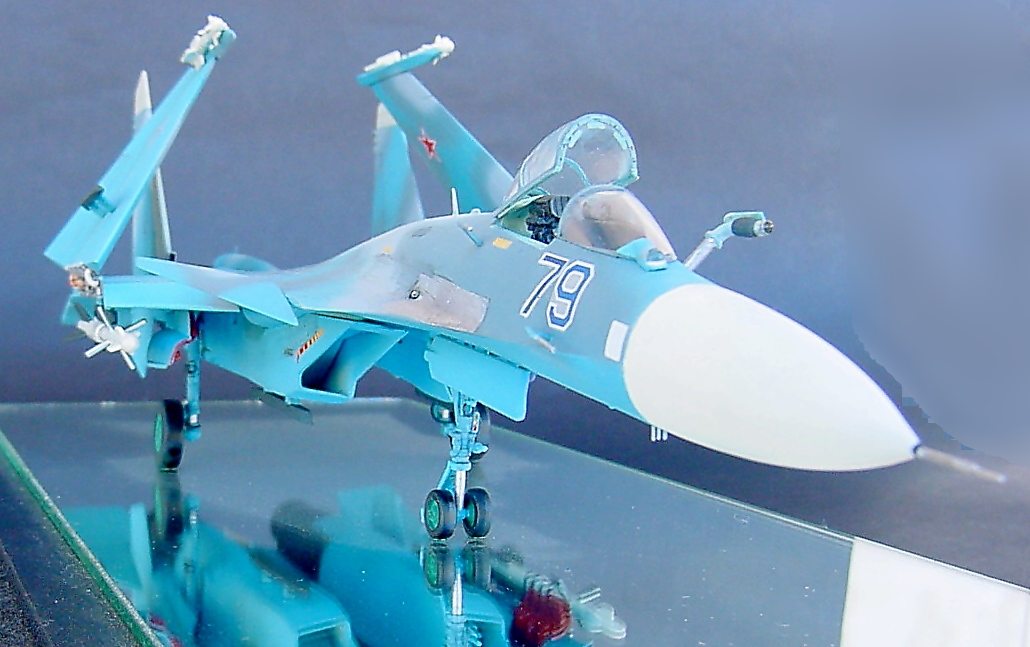
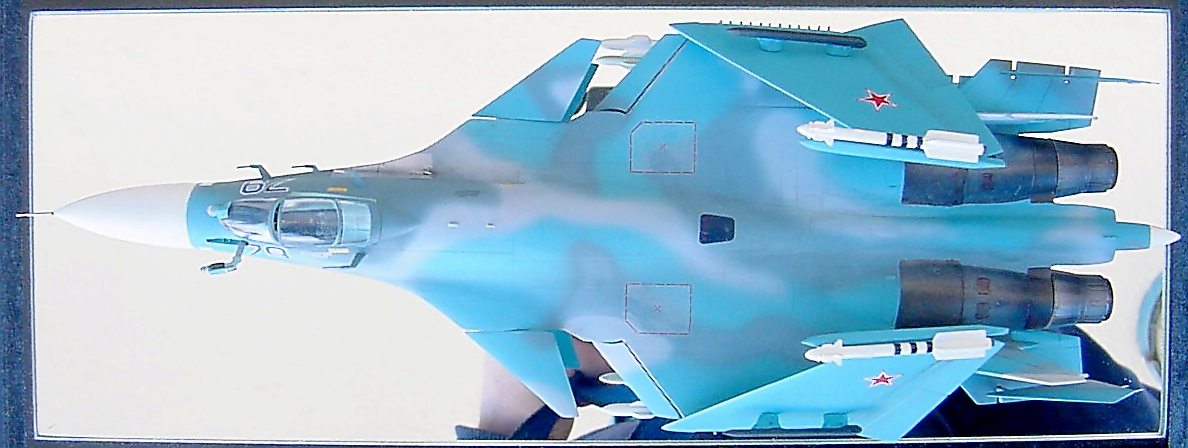
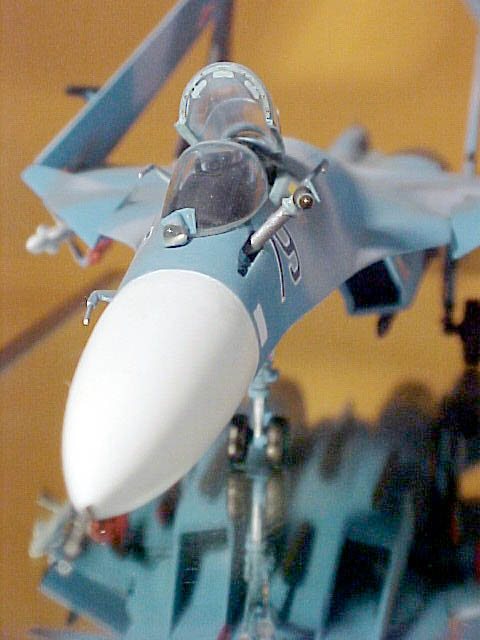
The Su 27k "Flanker" (or Su 30) is the newest interceptor in the Russian Navy. This plane belongs to the most advanced fighters group in the Russian Navy (first planes with the ability of wire flying). This very impressive fighter is the one onboard of the new Russian carriers, the "Tbilissi" class, leaving behind the not less impressive, but outdated, Mig 29k.
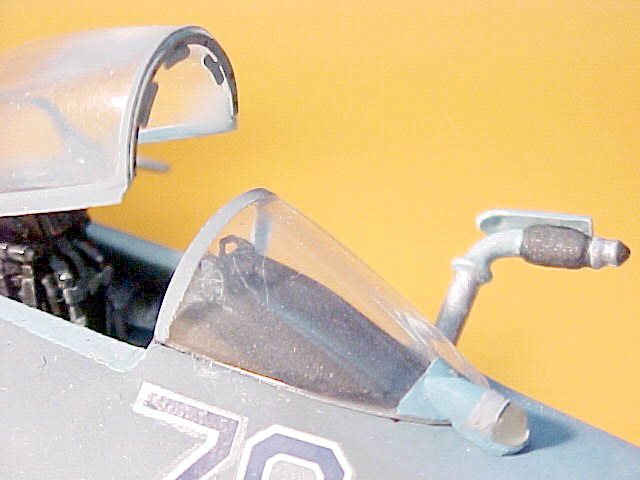
The kit Building and detailing My first concern was to determine the amount of "cuts" and "aggregates" necessary in order to get the results I was looking for. For this task I used the excellent 1/72 plans from "World Air Power Journal -Special- Su 27 Flanker" magazine, plus a good deal of pictures. Once I've finished with all the cutting I built some of the aggregates. All in all, the finished fuselage almost duplicated the number of parts. The cockpit
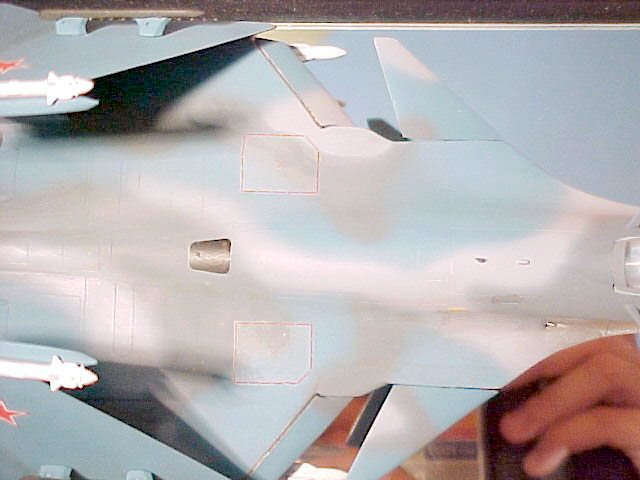
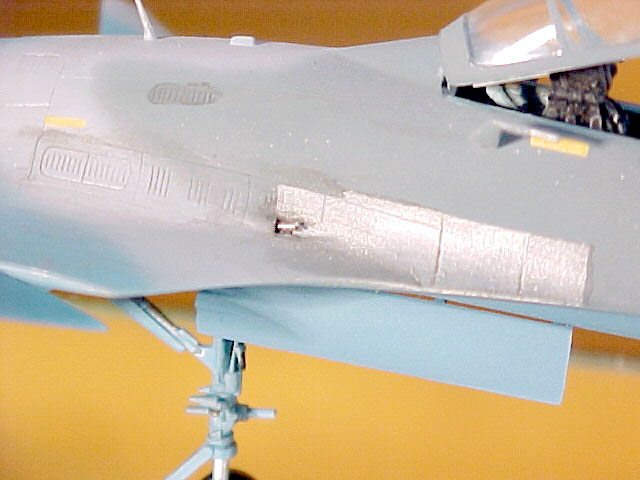
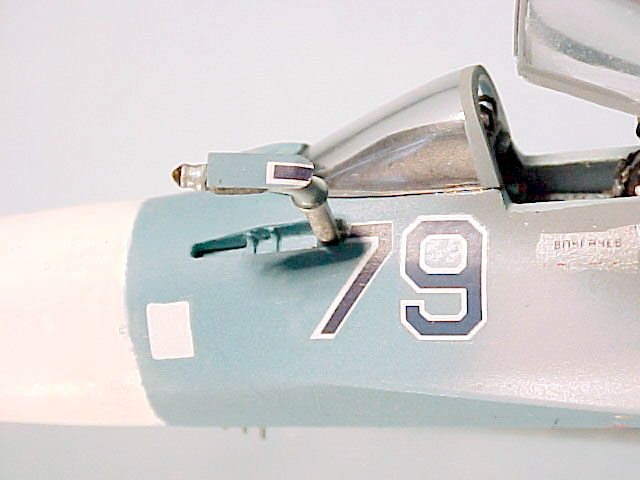
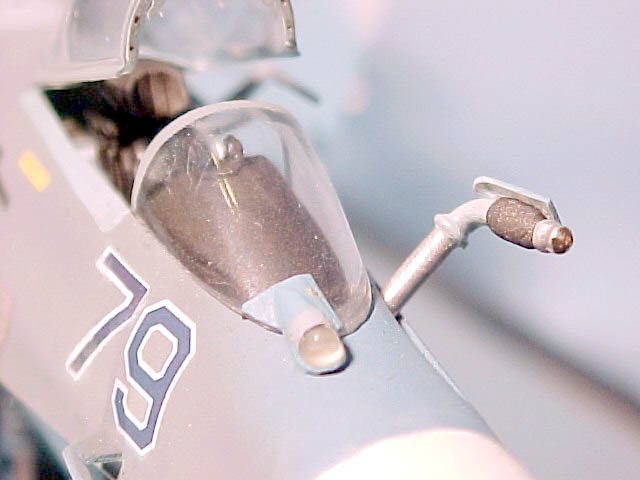
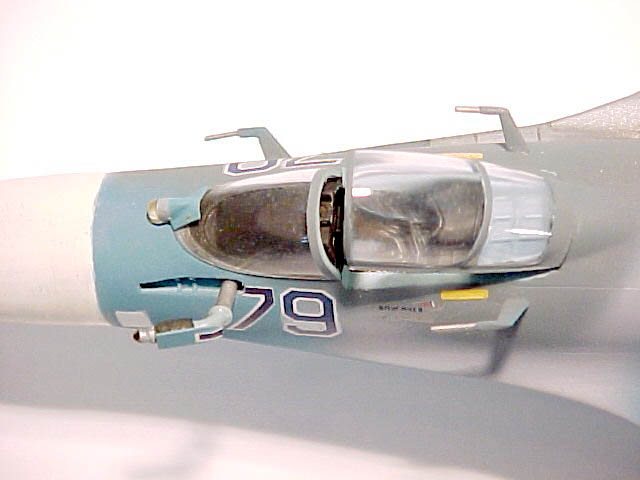
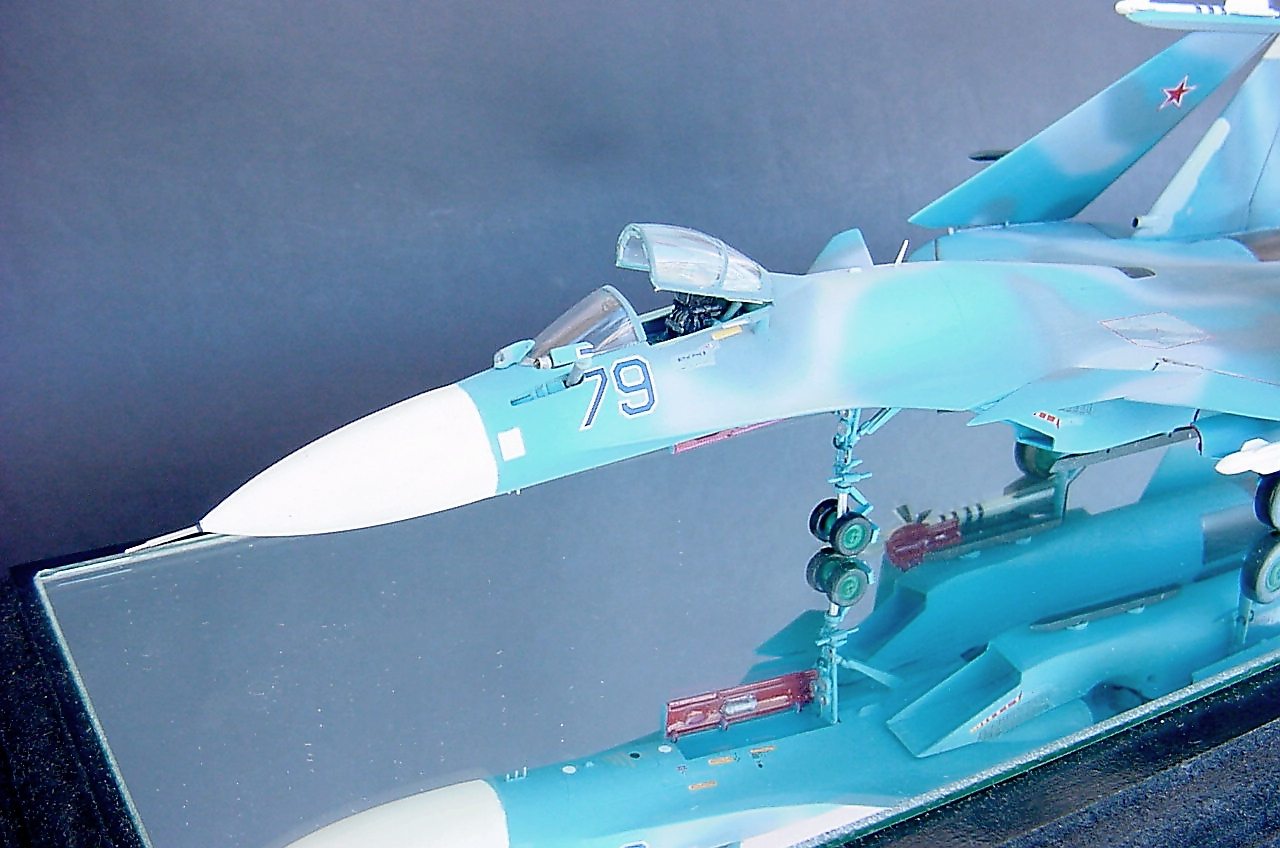
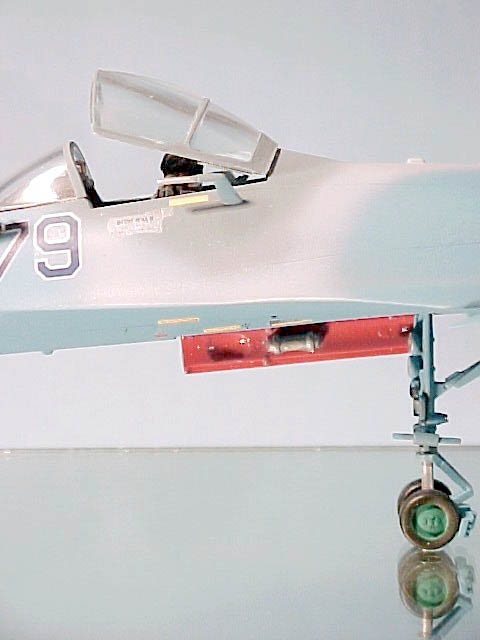
I used the K36 resin seat made by "True Details", the most accurate to me, and added some PE details like the ejection rings. I had to cut a section from the cockpit (the part behind the pilot's seat) that comes with the fuselage, and scratch built the space for the hatch opening actuating piston, so I could leave the cockpit open. Fuselage This was the most complex part of my project. I had to build the junction between the wings and the fuselage out of plastic sheet and putty. In order to give them the correct shape I used the same plastic as a template, gave them the volume and finished everything with putty until I got everything integrated.
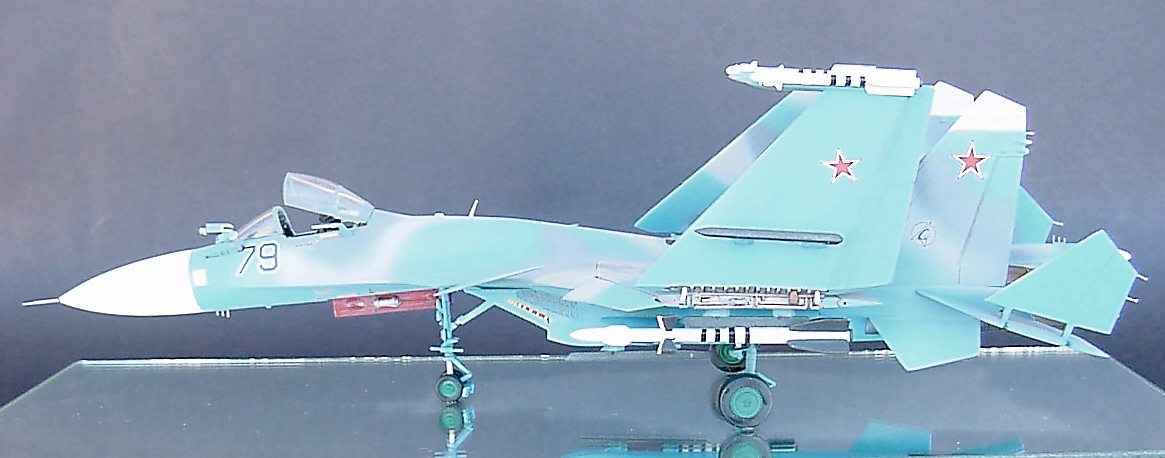
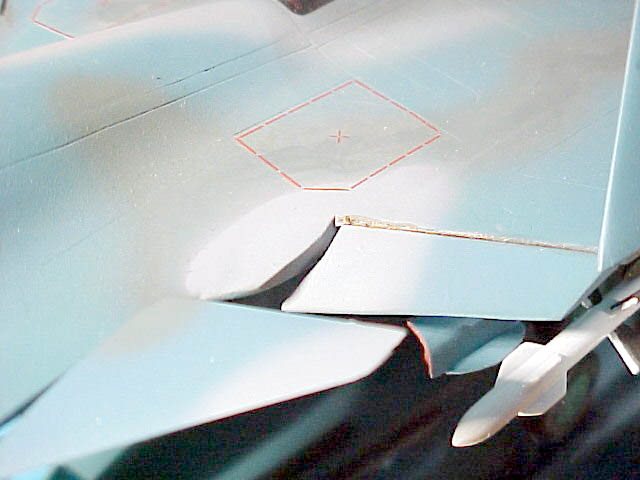
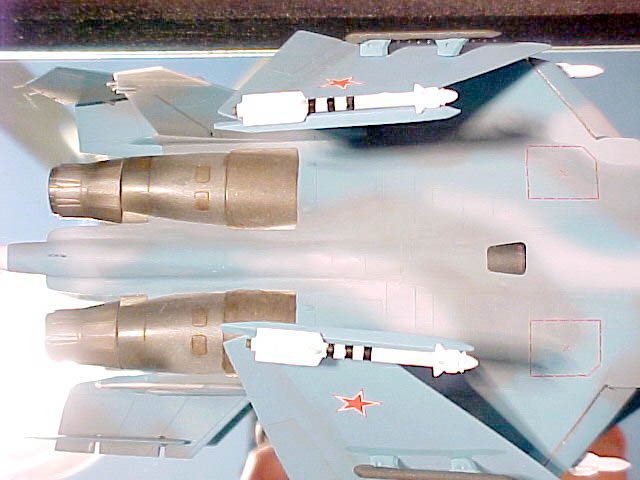
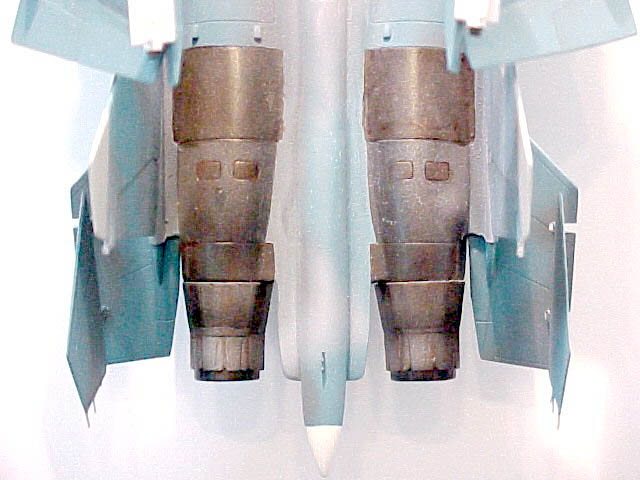
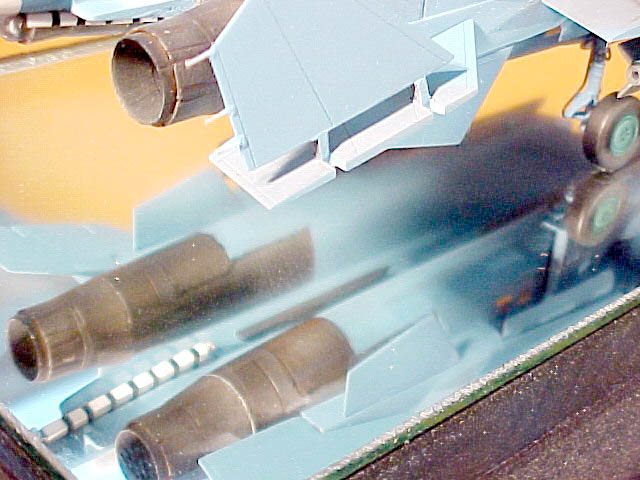
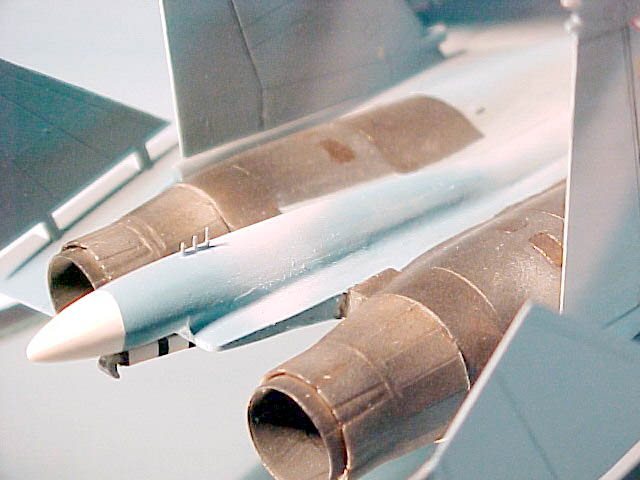
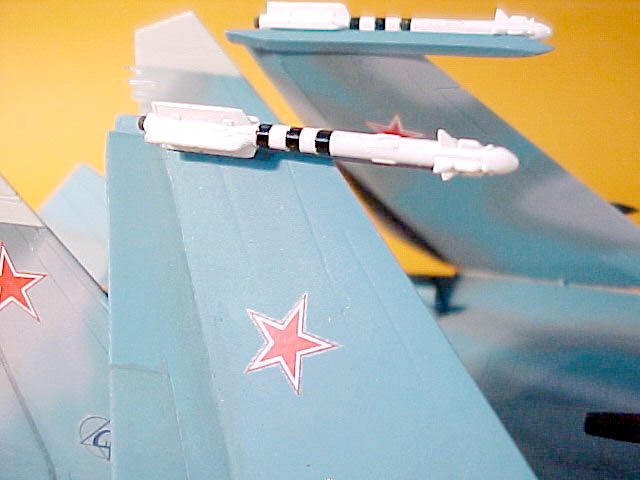
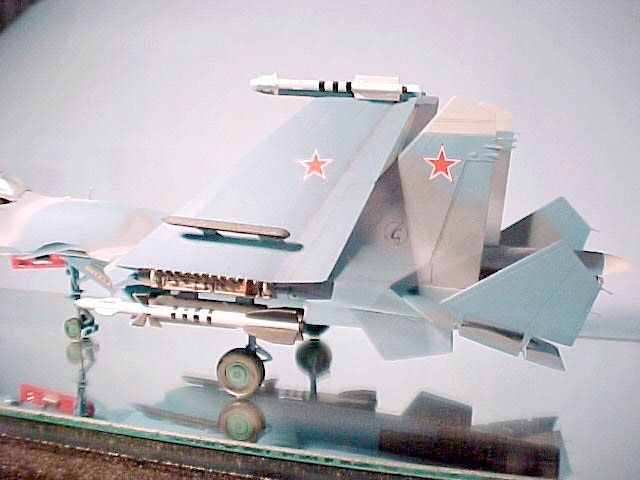
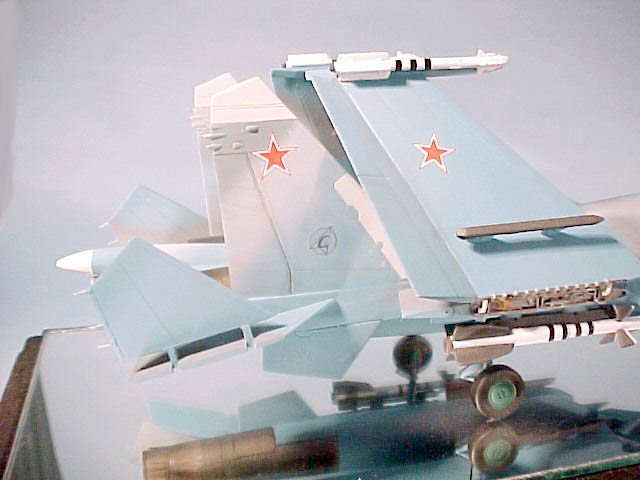
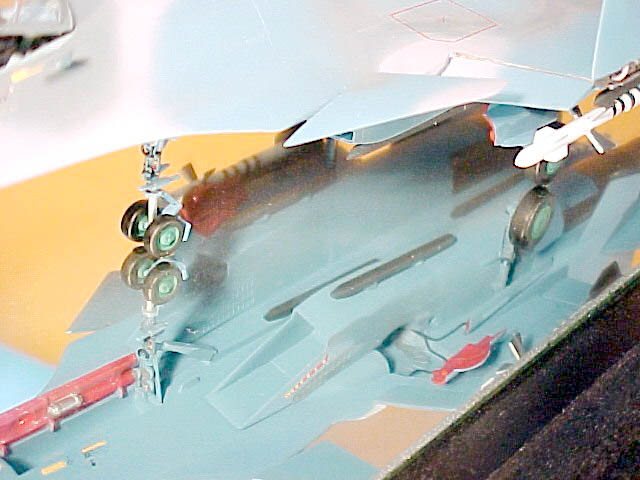
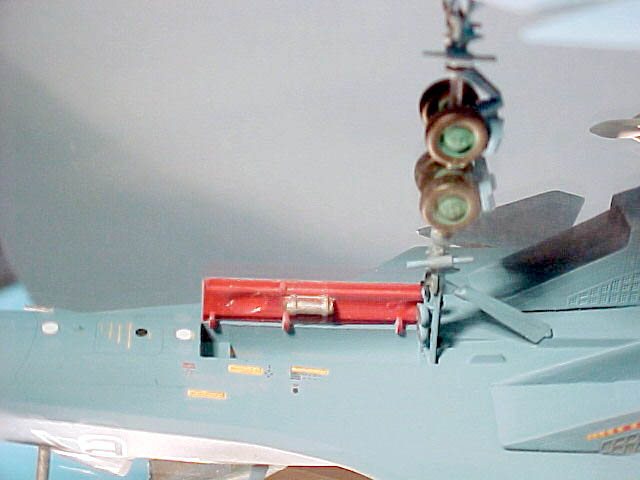
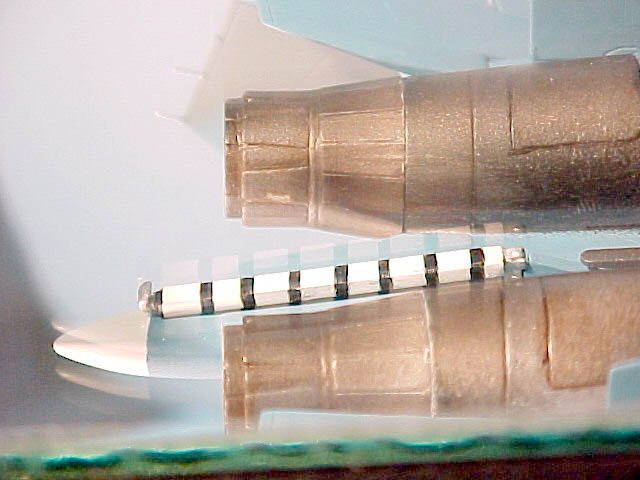
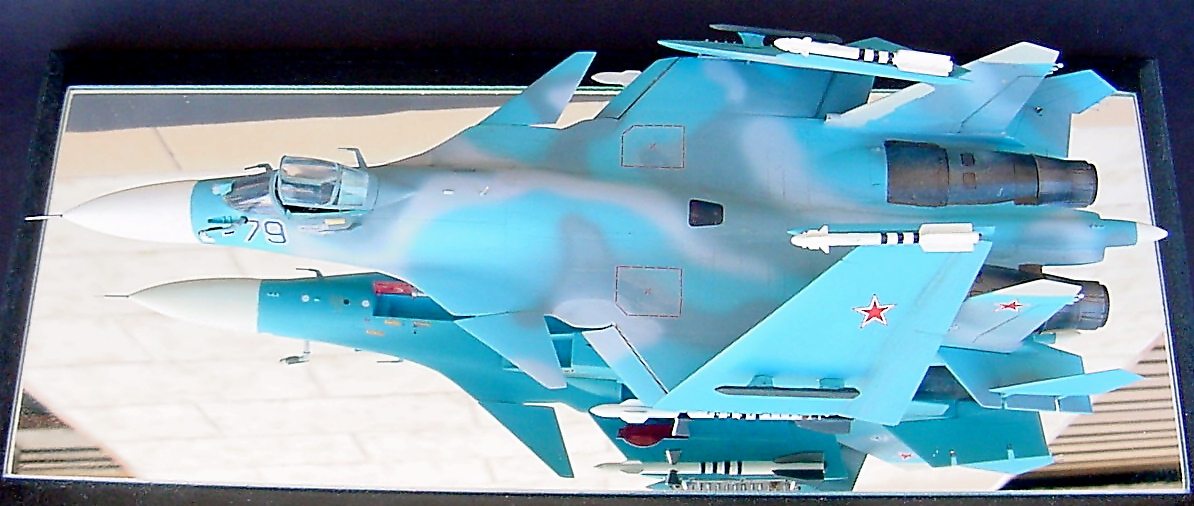
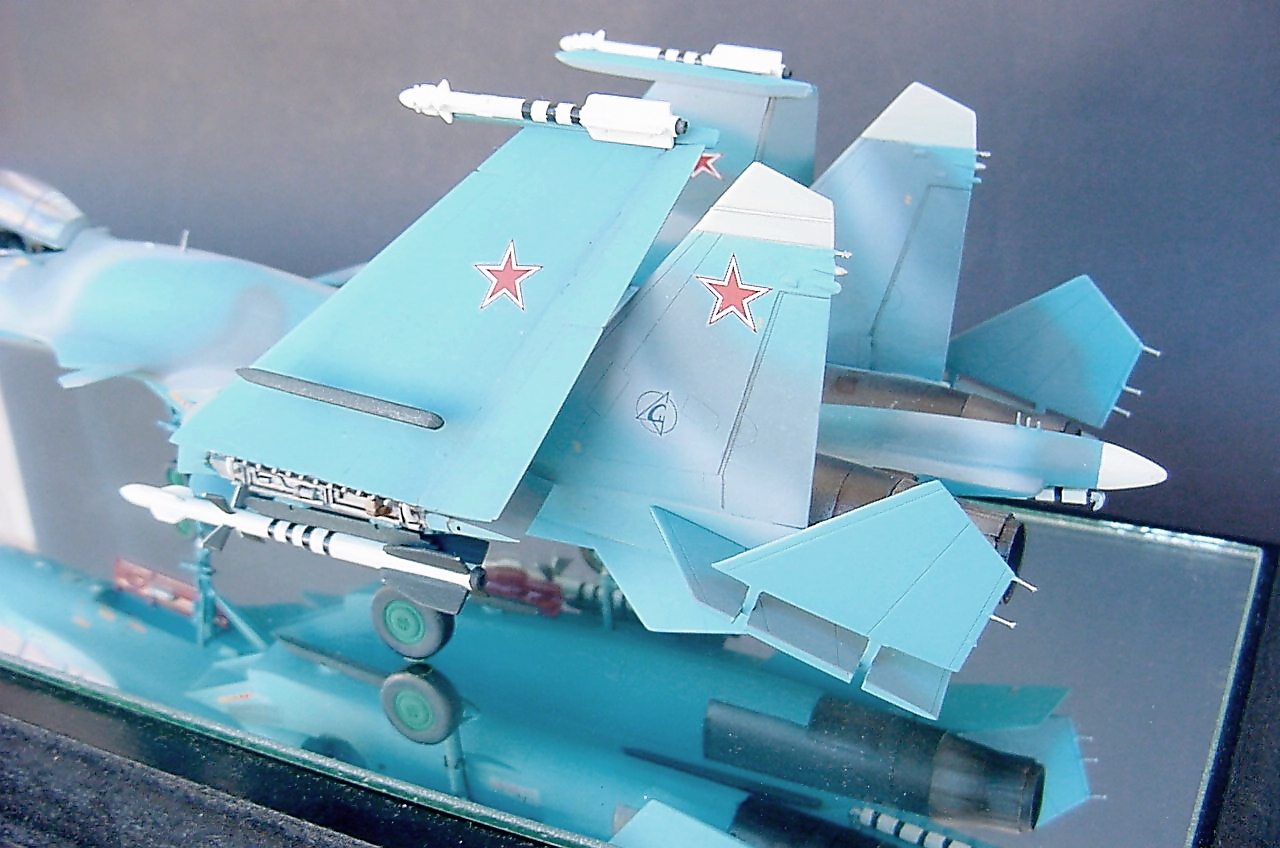
The tail fin for this version is a little bit shorter and higher so I had to give a special treatment. After cutting it I rebuilt it using the original pieces in the kit, plastic sheet, and putty. Once I finished the piece I glued it to the fuselage in the correct position. I used putty in order to "streamline" this part with the cockpit. Once installed in a higher position, the tail part left an empty space in the underside which I had to fill with plastic in order to make it flat, then I built the support for the tail landing hook. All these pieces were made with plastic rod and sheet. The wings were the parts I had to modify the most, due to their differences which are quite complex and very important. When you build a plane with foldable wings, you must make the hinges for the flaps and the slats. So I began by cutting the flaps from the wings (even those nearest to the fuselage). After widening them to the correct size (wider than the common Su27), I installed them in their place, as you can see in the pictures. The rebuilding of the slats was an easier task because I only had to cut the ones nearest to the fuselage. I had to scratch build the inner parts in the wings and the joints in the flaps and the slats, because they were visible now. One of the most characteristic detail of this plane are the two rudder fins, this is due to their parting lines and the large hinge line. They were easily reproduced with plastic sheet. I made the refueling probe with brass tube covered with epoxy putty, and then I carved to give the right volume, and shaped the connection tip. I made the bay where the probe enters the fuselage with plastic sheet.
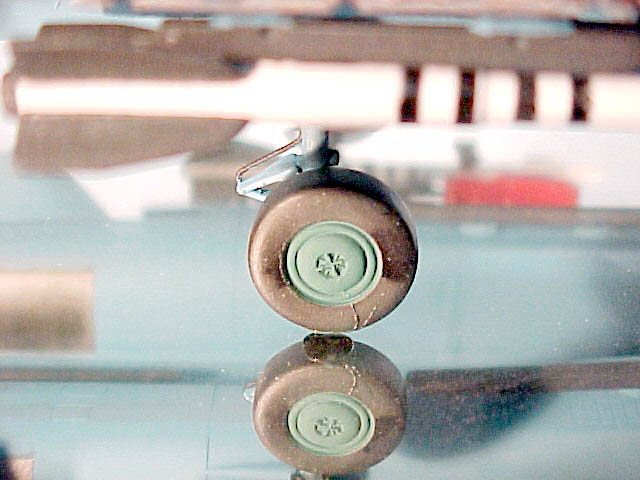
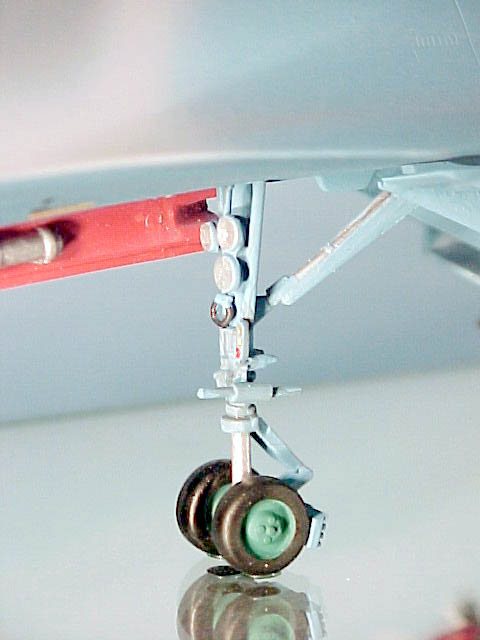
I added all the antennas to the fuselage. I had to build the nose antenna (in the right side under the number) with plastic sheet and heat stretched plastic sprue. For the flat three legged antennas (in the upper rudder section, and under the nose), I used spares from PE parts, I used hypodermic needles for the pitot tube and the gun. There were several parts in the Extra Tech set that I didn't use: #13 because it is to big; #12 and #14 because they are not for the Navy version; #10 and #11 because they are too thin ( the original part has volume; that is, it's not flat). I scratch built the nose landing gear using part #7 as a base, making all the visible modifications to this part; they are, hydraulic lines, both wheels axles mudguards, take off light, deck fixing ring, shock absorber, and lights. The tires were obtained from my spare box., which were modified to show the shape the Sukhoi tires. I detailed the main landing gears adding the hydraulic lines, four deck fixing rings (two on each wheel), and the bays. I didn't use parts #5, #22, and #53 because they didn't correspond to this version.
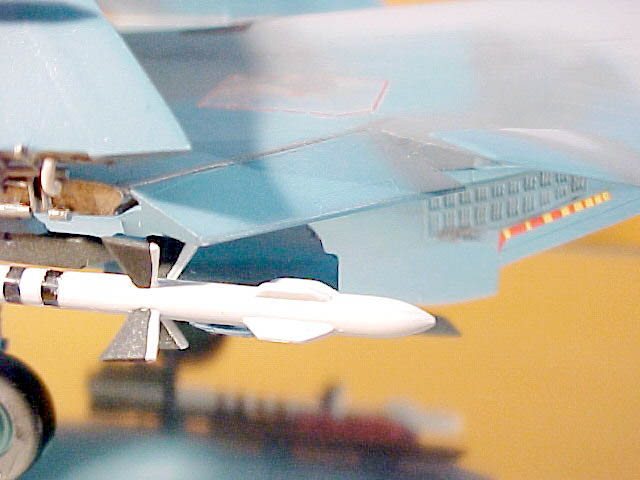
Ordnance Painting the model Inside the cockpit I used the color recommended by Aeromaster, the landing gear doors and bays were painted in the same color as the belly, and I did that because this is what I could see in the pictures, no matter the camouflage scheme. All painting was made with an airbrush and I used "Model Master" paints, besides the Humbrol. Finishing detailing For the application of the silver color in the shock absorbers, the washes between the panels, the flat black for the tires, and the salt water spots, I used a round tip brush. Except for the numbers, the OKV emblem in both rudders, and the National emblems in other parts of the plane, which I took from my spares box, I used the decals provided in the kit. Bibliography
Support us ordering our notes in PDF > Here |
|||||||||||||||||||||||||||||||||||||||