|
|
||||||||||||||||||
|
Techniques |
|
|||||||||||||||||
|
How to paint with lacquers |
||||||||||||||||||
|
by Jose Antonio Solbes Shang |
||||||||||||||||||
|
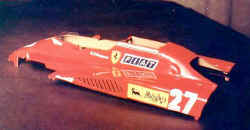
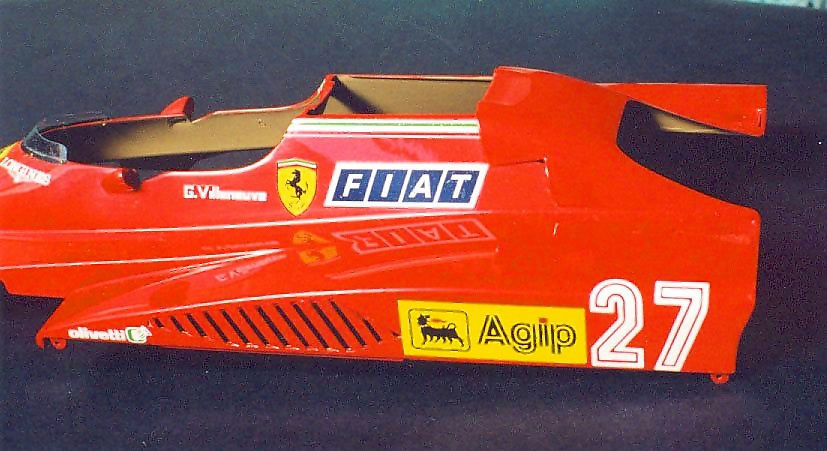
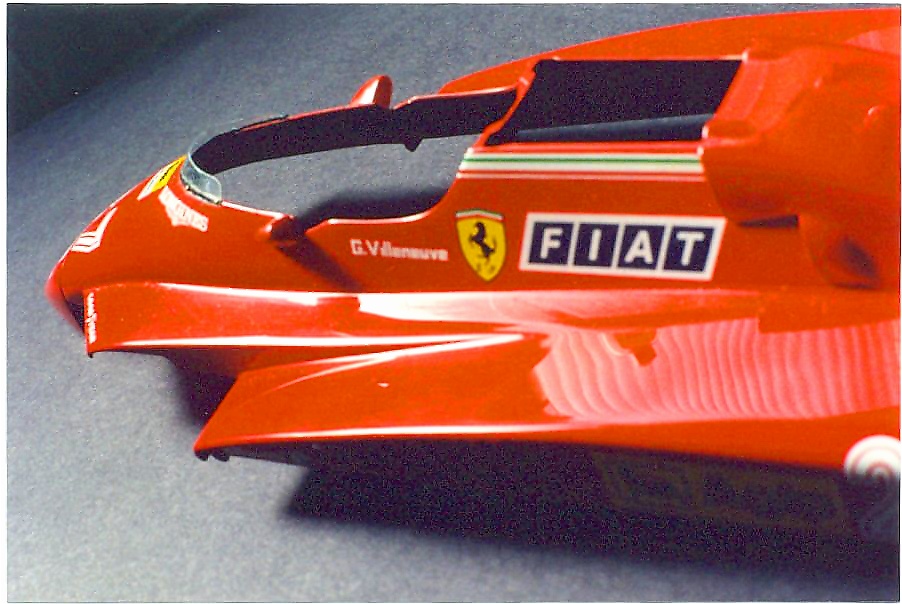
When we look at a car model, the first thing that strikes our eyes is the paint and its quality. Contrary to ships, airplanes, and tanks, car models of any kind (personal or competition) have one thing in common, the paint job must have a mirror like finish. This kind of finish depends on the materials and the painting techniques. In this note I'll try to explain how I paint with a material that has been feared by many a modeler, I'm talking about automotive lacquers. Perhaps the fear comes from the fact that the substances in this material are so strong that they tend to "eat" into the coats and primer underneath, but I assure you that once you master the first step, which is the preparation of the body by means of a good "barrier" (primer), you will love this material. The only problem with lacquers is the aggressiveness of its solvents; in exchange of that, lacquers are very hard and the drying time is quite fast. Besides that, you can polish and wax the finish with the same products you use for your 1:1 scale automobile. And there is another advantage, once it has dried, you can lay almost any other material over it.
Now lets talk about some very important details concerning the painting equipment. First of all, you need a good airbrush and a compressor with a pressure regulator. You can find lacquer paint in spray cans, but they don't give you the necessary kind of control for a good job. No matter the scale we are working on (except the 1/43), the airbrush must be equipped with an M head and tip; this is very important in order to get the adequate amounts of paint because, if you use a smaller head (fine) the paint will dry before hitting the surface; on the other hand, if you use too big a head, the extra paint will cover the fine details (specially in smaller scales).
Materials and equipment
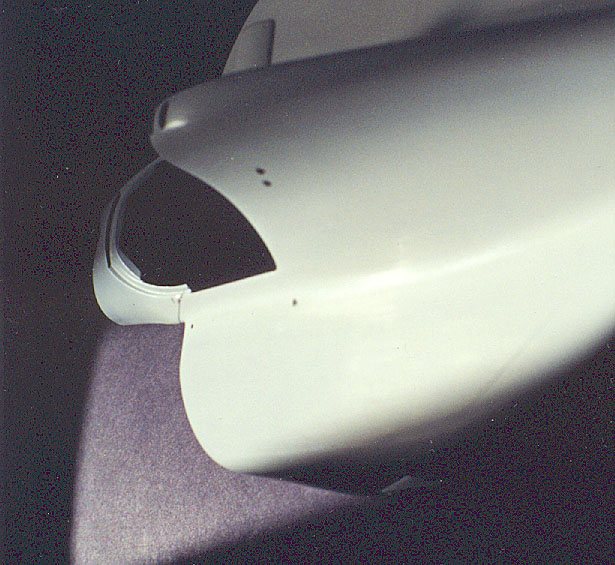
1.- Prepping for lacquers
The first coat must be "misted" from a distance of 20cm., that will take care of the "etching" problem common to all lacquers. Le it dry for 20 minutes and apply the second coat, although this time a little "wetter". Let the parts dry for another 20 minutes and lightly sand with #600 wet or dry sanding paper and water.
It is very important not to press too hard while sanding because this would take away the primer and leave the plastic exposed. Remember that these primer coats serve not only as a base for the paint, but as a barrier against the "etching" vice common to all lacquers. Rinse everything and let dry. I always insist on "letting dry" because if we dry the parts with a cloth, or other means, we have to rub the surface and that will create some static which will attract dust to the surface. This procedure is good for any kind of primer although, as I've mentioned in the materials paragraph, I highly recommend the VARIPRIMER; you can apply this product directly over the plastic surface with absolute confidence. Once the priming operation is finished, we'll let everything dry for 24 hours.
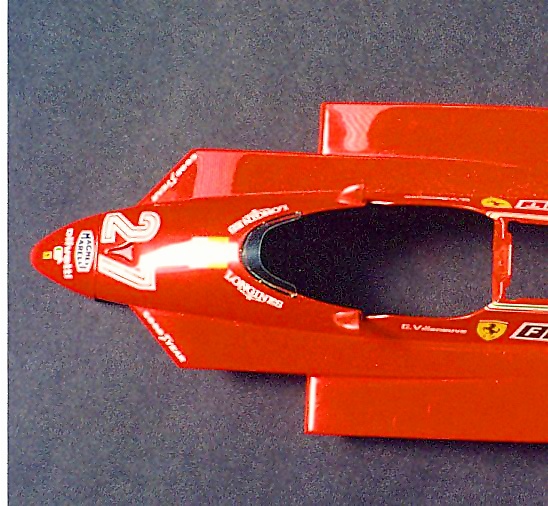
2.- Applying the lacquer
Now we'll apply three or four coats, these coats will be heavy enough to give some gloss to the surface, and should be shot at 30 minute intervals. These coats will "even" the color. Wait for another couple of hours, sand the surface with #800 sanding paper and plenty of water, rinse everything and let dry. The final coats are the wet coats, although this time we will thin the lacquer in a 40-60 ratio (40% lacquer, 60% thinner) and lower the compressor pressure to 17-18 lbs. We are going to apply three coats with an interval of 30 minutes between each coat, to let the solvents evaporate before adding the next coat; the wet coats will leave a shiny surface almost ready for the polishing process. Let everything dry for another day.
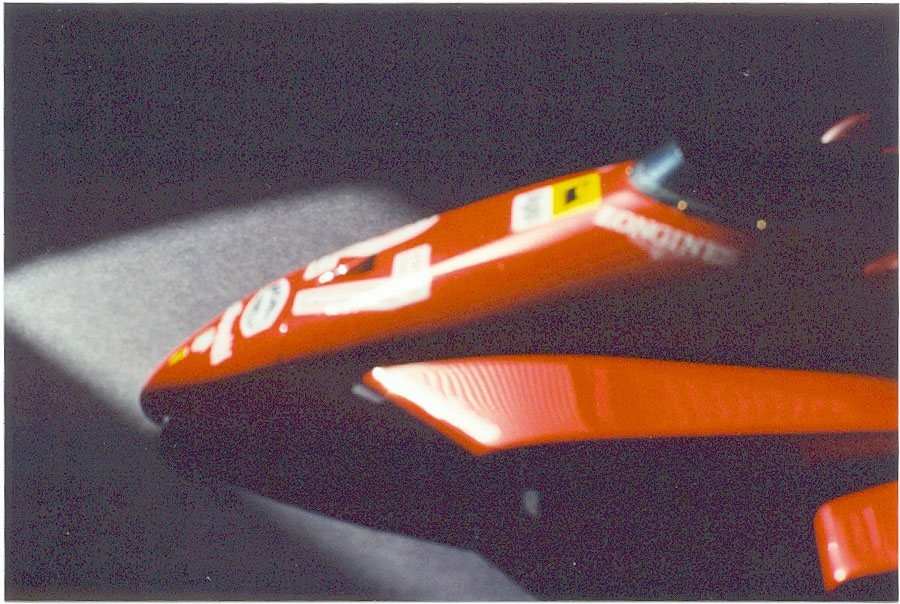
At this time of the process the model has about three coats of primer and nine coats of paint, that will sound like a lot of paint, but remember that we've been sanding between coats and that takes some paint away. Before going on with the polishing process I must remind you not to get carried away and put on more coats than the recommended, remember that each coat adds an important amount of solvent with the risk of the solvent eating through the previous coats and find its way to the plastic.
If you can't find this product in your local area, you can use any polishing paste intended for acrylic materials, or small amounts of regular white toothpaste applied with a wet piece of cotton cloth; remember the "old" cotton T-shirts?, here is where this material will show its "value". Once you have everything polished and shiny, we must wash and dry everything. Now is the proper time to apply all the decals over the painted surfaces and let them dry for a couple of days. Lastly, give the surface a good waxing job (decals and all), relax, and admire your work.
I don't want to finish this article without mentioning the LMG Enterprises polishing kit, very well known among modelers throughout the USA. It consists basically of several abrasive cloths in #1800 through #12000 grits, (with the same function as the sanding paper that I've mentioned at the beginning of this paragraph), a rubber sanding block, a piece of flannel and two 1 oz. liquid polish bottles. Properly used these sanding cloths leave a very shiny and smooth surface. If we use this kit, we must begin with the lower numbers (1800, 2400, or 3200) and finish with the highest one (12000). The next number cloth takes away the fine scratches left by the coarser grit; this will leave the surface smooth and ready for the decals and the wax job.
Support us ordering our notes in PDF > Here |
||||||||||||||||||