|
|
|||||||||||||||||
|
Formula one |
|
||||||||||||||||
|
Scratch building a Lotus 79 1/20 scale |
|||||||||||||||||
|
by Akiyoshi Kishino |
|||||||||||||||||
|
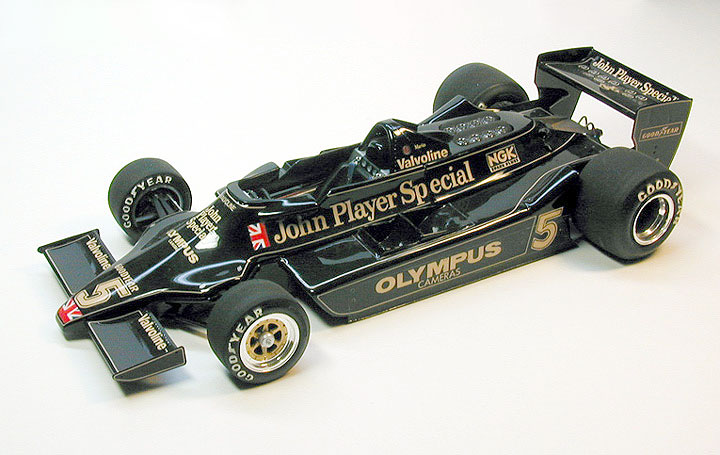
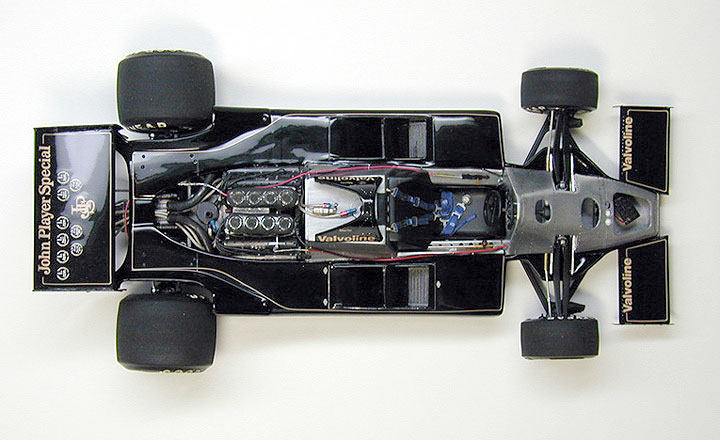
Even now, the 1978 Lotus 79 is one of the most popular Formula 1 machines. This model is my 3rd scratch model of Lotus 79 in 1/20 scale. I built the first two models based on Tamiya's Williams FW07, but I could not get enough references in those days in Japan. After that, I had the chance to gather some information and detailing from books about this Lotus car. Especially after Tameo released a fully detailed Lotus 79 in their 1/43 lineup, I wasn't satisfied with my models, so I decided to give myself a return match at scratch building this beautiful car.
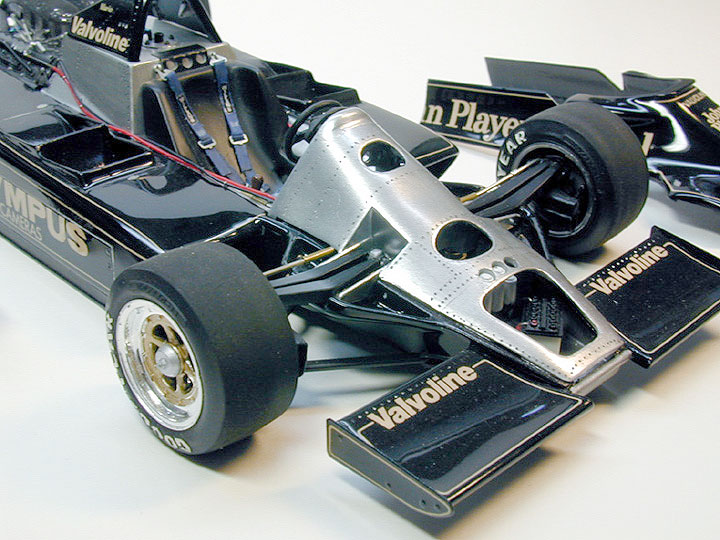
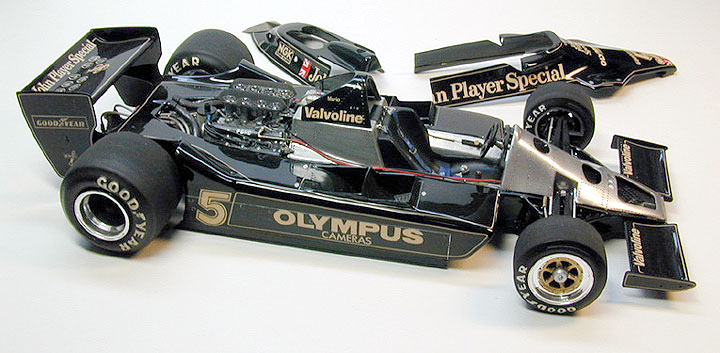
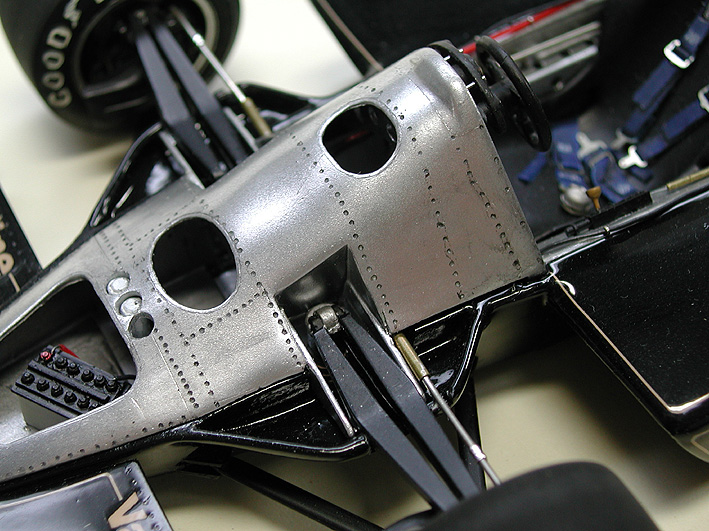
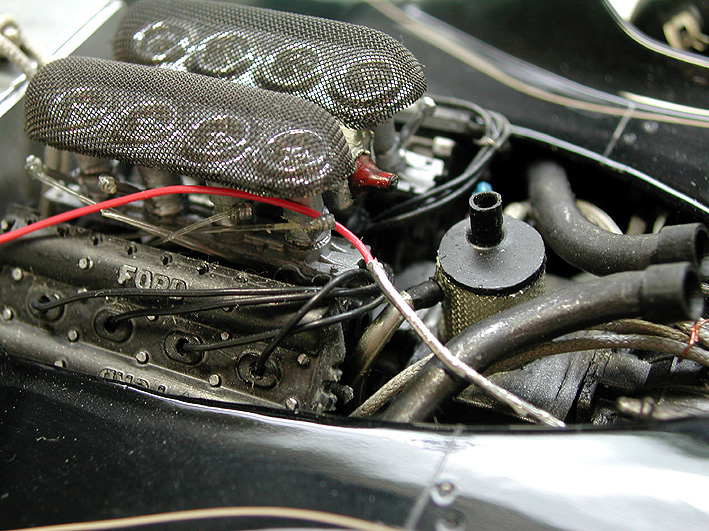
The engine, exhausts, suspension arms, etc. were converted from the FW07 or the Lotus 78 kits. I made a resin cast for the body cowl was vacu-formed the cowling with 0.5mm plastic plate, that way I got a thin body cowl part that could be divided as the real car. I think this vacuum form method is very reasonable for building replicas of the '70 and '80,s Formula 1 cars (with full cowling).
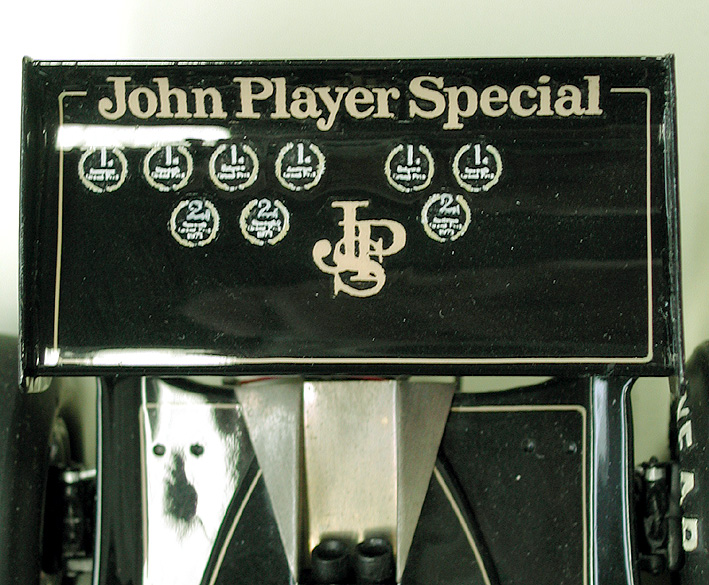
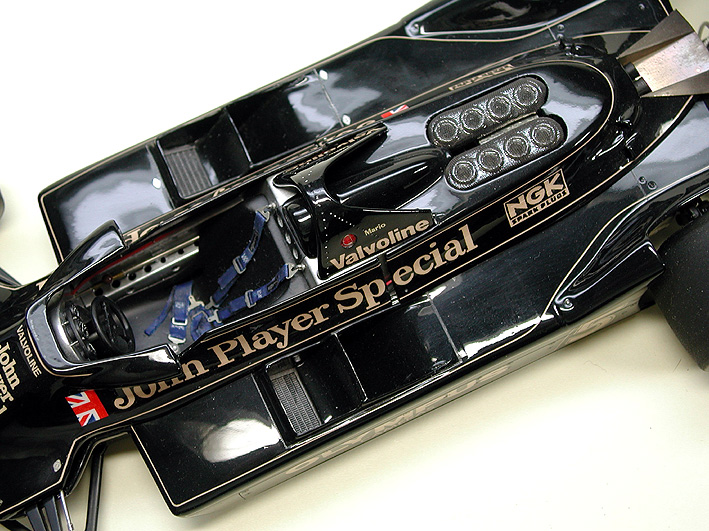
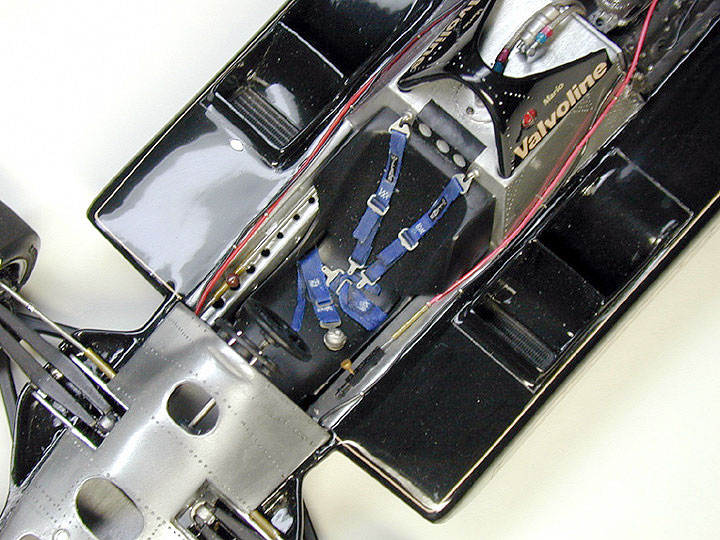
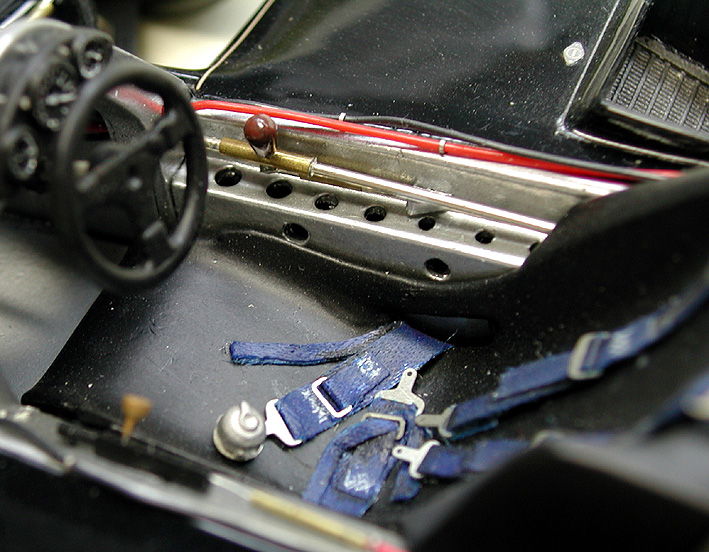
The tires were converted from Brabham BT50, because the 78's and '79,s had different diameters. I used thin wire, mesh hose and small parts converted from other kits, to make a lot of detailing around the engine and the suspension, as well as in the cockpit. I didn't use the Tamiya 78 decals, because the JPS logos were printed in yellow though, while the real color was a little more creamy. To make things worse, the decal was too thin and not bright against the black base color.
After many complications, my "Black beauty" was finished. I am always fascinated with its beautiful shape, and I strongly feel like "I need to build another one, although this time in 1/12 scale!"
Support us ordering our notes in PDF > Here |
|||||||||||||||||